Beginner's Guide to RV Solar
Solar power for RVs has gone from luxury upgrade to mainstream must-have in just a few years. Prices have dropped dramatically, products have gotten easier to install, and the freedom of camping without needing hookups is genuinely life-changing once you experience it. If you’ve been curious but unsure where to start, this guide is for you.
How RV Solar Works
At its core, an RV solar system has four components working together:
- Solar panels capture sunlight and convert it to DC electricity.
- A charge controller regulates the power flowing from the panels into your batteries, preventing overcharging and damage.
- A battery bank stores the energy for use when the sun isn’t shining.
- Wiring and fusing safely connects all of the above.
When the sun hits your panels, current flows through the charge controller into your batteries. When you flip a light switch or plug in your phone, the battery powers the load. It’s remarkably simple — and remarkably reliable when installed correctly.
What You Need: The Four Components Explained
Solar Panels
Panels come in three main types:
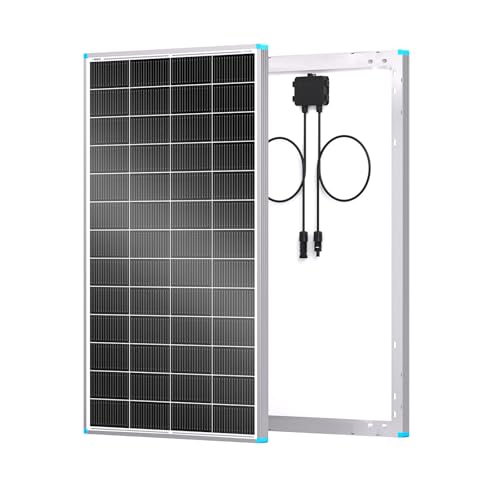
Monocrystalline panels are the gold standard for RV use. They’re the most efficient (18–22%), perform better in low-light and high-temperature conditions, and last the longest. They cost slightly more but are worth it. Renogy’s 200W monocrystalline panel is a popular choice for exactly these reasons.
Polycrystalline panels are cheaper but less efficient and bulkier for the same wattage. They’re harder to find in 2026 as mono has become the dominant technology.
Flexible/thin-film panels are great for curved roofs or mounting where rigid panels won’t work. They sacrifice some efficiency and lifespan compared to rigid mono panels, but they’re the only option for some installations.
How much wattage do you need? A rough rule: 100W of solar generates 30–50Ah per day in decent sun. For a 200Ah LiFePO4 bank cycling at 50% daily, you’d want 200–300W of panels minimum.
Charge Controllers
The charge controller is the brain of your solar system. There are two types:
PWM (Pulse Width Modulation) controllers are simpler and cheaper, but they require the panel voltage to closely match the battery voltage. They’re fine for small systems but leave efficiency on the table.
MPPT (Maximum Power Point Tracking) controllers are smarter. They step down higher panel voltages to match the battery while extracting maximum power from the panel at all times. An MPPT controller can be 15–30% more efficient than PWM in real-world conditions. For any system over 200W or with LiFePO4 batteries, MPPT is the right choice.
The Victron SmartSolar MPPT 30A is a favorite in the RV community — reliable, accurate, and pairs beautifully with the Victron app for real-time monitoring via Bluetooth.
Batteries
LiFePO4 lithium batteries are the ideal partner for solar. Their high charge efficiency (~99%) means nearly every watt from your panels makes it into storage. They handle partial state-of-charge cycling (the normal condition with solar) far better than AGM batteries, which degrade quickly without regular full charges. A single BattleBorn 100Ah or similar quality LiFePO4 is a solid starting point for a beginner solar setup.
Wiring and Fusing
Wiring is where most DIY solar mistakes happen. Use appropriately sized wire (too small = heat, voltage drop, and fire risk), include a fuse or breaker within 18 inches of the battery on every circuit, and label everything. The most common wire gauges for RV solar:
- Panels to charge controller: 10 AWG for runs under 20 feet
- Charge controller to battery: 8–6 AWG depending on amperage
- Main battery leads: 4 AWG to 4/0 AWG depending on system size
A Complete Starter Setup
Here’s a practical beginner solar kit that will handle a modest off-grid load:
| Component | Recommended Product | Approx. Price |
|---|---|---|
| 200W solar panel | Renogy 200W Monocrystalline | $250 |
| MPPT charge controller | Victron SmartSolar MPPT 30A | $130 |
| 100Ah battery | BattleBorn 100Ah LiFePO4 | $899 |
| Wiring kit + fuses | Generic 10 AWG kit | ~$60 |
| Total | ~$1,340 |
This setup will generate roughly 50–70Ah per sunny day and store 80–90Ah of usable power. It comfortably handles lighting, phone/laptop charging, a fan, and a CPAP machine for 1–2 nights between sunny days.
Installation Overview
You don’t need to be an electrician to install RV solar, but you do need to be methodical. Here’s the general process:
- Mount panels to the roof using stanchion mounts or low-profile Z-brackets. Seal every penetration with Dicor or similar lap sealant — water damage is the enemy of roof installations.
- Run cable from panels through the roof using a weathertight cable entry gland. Route to where your charge controller will be mounted.
- Mount and wire the charge controller — panels to the PV input, battery to the battery terminals. Always connect battery first, panels last.
- Connect to the battery bank with appropriately fused cables.
- Configure the charge controller for your battery type. Most MPPT controllers support LiFePO4 profiles — use the correct absorption and float voltages for your specific battery.
Common Mistakes to Avoid
Undersizing Your Wire
Voltage drop in undersized wire reduces efficiency and creates heat. When in doubt, go one gauge larger than calculations suggest. Wire is cheap; rewiring after the fact is not.
Using the Wrong Charge Profile
Connecting a lithium battery to a controller set for AGM chemistry will either undercharge the battery or, in rare cases, damage it. Always set the correct battery type in your charge controller settings before connecting.
Skipping Fuses
A short circuit between an unfused battery cable and the vehicle chassis can cause a fire within seconds. Every conductor coming off the battery positive terminal needs a fuse or breaker as close to the battery as possible.
Ignoring Shade
Solar panels are extremely sensitive to shading. A single shaded cell on a standard panel can reduce output by 30–50% or more. If your roof has obstructions (AC units, vents, antennas), plan your panel placement carefully. Consider panels with bypass diodes or micro-inverters for heavily shaded installations.
Is RV Solar Right for You?
If you camp at hookups every night, the math may not pencil out. But if you value boondocking — camping in national forests, BLM land, or simply dry camping to save campsite fees — solar pays for itself quickly. The average off-grid campsite costs nothing, versus $40–$80/night at a full-hookup RV park. A $1,300 solar system pays for itself in 20–30 free nights.
Once you go solar, you won’t go back.
Products Mentioned
$189
- ✓ 200W output in a single panel
- ✓ High-efficiency monocrystalline cells
- ✓ Pre-drilled mounting holes
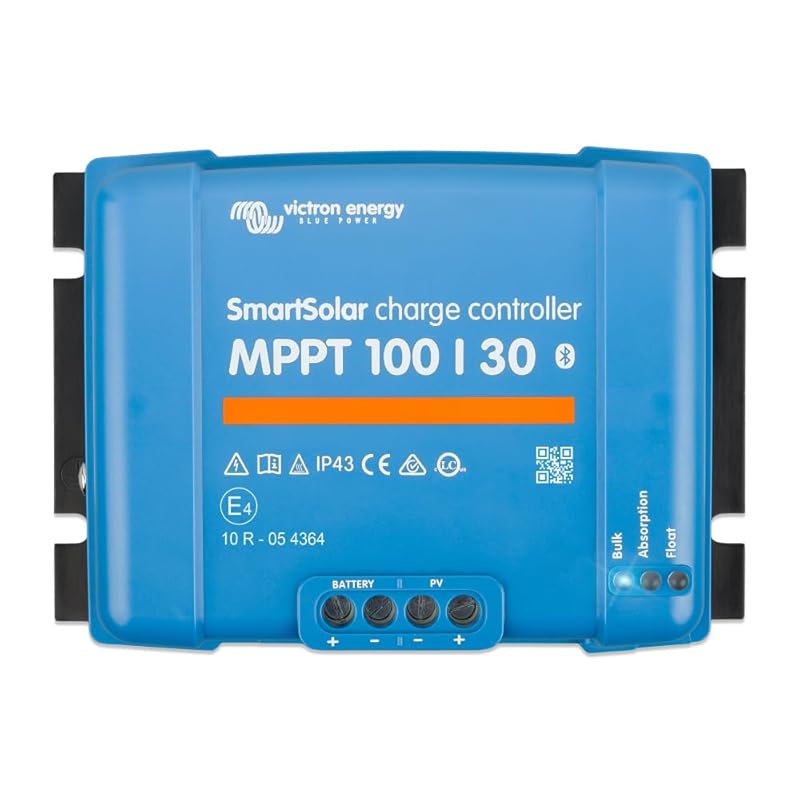
$199
- ✓ MPPT technology — 30% more efficient than PWM
- ✓ Bluetooth monitoring via VictronConnect app
- ✓ Handles up to 440W of solar input
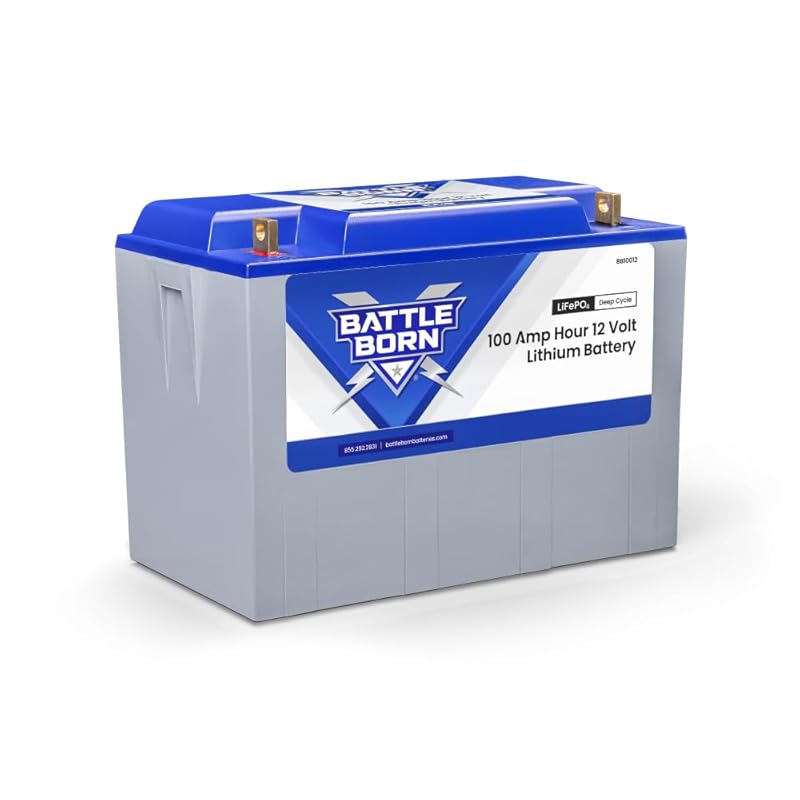
$899
- ✓ 3,000-5,000 cycle lifespan
- ✓ Built-in BMS protects against overcharge and over-discharge
- ✓ Only 31 lbs — half the weight of a comparable AGM
Related Articles

How to Size Your 12V Battery Bank
Learn how to calculate the right battery bank size for your RV, boat, or off-grid setup. Step-by-step guide with real examples.
April 8, 2026

How to Wire 12V LED Lights in Your RV or Van
Step-by-step guide to wiring 12V LED lights in your RV, van, or boat. Learn wire sizing, switch wiring, dimmer compatibility, and avoiding common mistakes.
March 20, 2026

Winter RV Battery Care: Protecting Your Bank in Cold Weather
Cold weather kills batteries fast if you're not prepared. Learn how to protect your RV battery bank through winter storage and cold-weather camping.
March 17, 2026